Wednesday, April 23, 2014

Overview of Background manager for escape from hades

Escape from Hades has a parallax background system capable of swapping between different parallax and static backgrounds.

Our amazing art team has provided all our level assets cut up into depth layers. to allow for our parallax effect.


This allows us to move each area of the background separately at different speeds.  By moving the further pieces slowly we create the illusion of depth.  This effect is called parallax.


When we run the game we slide all the pieces along at different speeds with a second copy following behind for a seamless effect.


To manage this in code, the information for each Layer is stored in a custom class.


This code contains a record of which image should be used for this layer, how fast this layer should move in relation to the games speed, a record of whether or not the layer is currently in use and a setting for type (some layers will be particle effects and require some different code to alter).

The information for each layer is stored in an array in the Area class which holds the information for each area as a whole.

This includes the information of the start and end transitions for areas that need them.  The transition images sit on top of all the other images to hide the seems


Add caption
These transitions spawn in before and after every second background to cover the seams.

Once the Area and Layer classes are in place the rest is fairly simple.
Storing the various Areas looks like this.


The Current Area is stored as an integer (to access a part of the above array) and the parallax system moves each piece forward like so

end code

Tuesday, November 5, 2013

3D environments. Reflective posts.

This was an interesting experience. If I had to repeat this process, I would plan a lot more in the early stages. A more fully realized game script, leading into a more detailed map.  My plan included all the major features of my concept but lacked small details. drains for the street, or extra small features for the forest.

Time management is also an issue.  I got a new job a month ago and this cut seriously into my study time.  Had I been more organised initially, and listened to my teachers advice about working on all my assessment together instead of trying to complete them sequentially this would have been a much more manageable issue.

As a result of this many planned features are missing from my final level, although the bare bones are in place.  I have learned a lot about 3D asset creation and designed a workflow I am comfortable with (Building groups of assets in 'sets' and importing them in a single FBX, then building individual prefabs).  This process keeps my assets organised and easily accessible although it does mean I have to be careful if adjusting and re-importing details.  Because I was aware of this from the start, I didn't have any issues.

I am quite proud of my street assets.  I think they are well made and well used.  I gave the textures a slightly cartoony look to stop users from expecting realism (photo realism is for xmas, pixel are forever).  I think this worked well, and the sunken brick wall behind the pillars made some great dramatic shadows in the opening sequence.

Adding in the lights for my game presented some interesting challenges which I definitely increased my understanding of unity solving.  Working out how to programatically adjust the base light level in the scene (RenderSettings.AmbiantLight) and create my motion activated street lights using triggers and filters.

I am very proud of my sunrise.  I found a technique online that would allow me to blend two skybox textures and fade between them, and had hoped to implement it, however, my poor time management prevented this.
The technique I used (A hard change between two darkened skyboxes, with the lighter one slowing fading brighter as the light level increases) Works well for the single use nature of my game.

Also appropriate for my level, but not scale-able is my use of Ambient light.  If starting the project again I would take the ambient light from off to very low, and use a directional light to control to sunrise, controlling the angle, in addition to the brightness and color.

These more advanced techniques are part of a full day-night cycle simulation.  I would have loved to implement this, but it would have been unnecessary for a project of this scale and I was pressed for time.


Overall, I am happy with what I've achieved but annoyed that the limitations on my project were not from my skill at game design or coding but time management.

Wednesday, October 30, 2013

3D Digital Environments. Sky Boxing


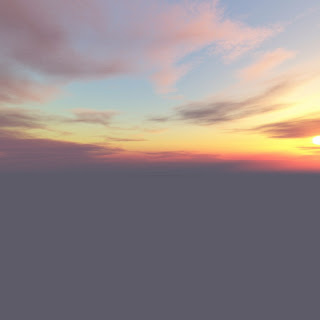
I've ended up with two sky boxes downloaded from the internet.

A night time skybox for the opening sequence and a day time skybox for the second half.


I built two skybox materials and am using the sunrise script to swap between them.  I am also altering the color of the day time skybox to follow the changing ambient light.


Here is the ammended script.

Tuesday, October 29, 2013

3d Digital Environment. Building Sunrise

Now that I've successfully made my level dark, I need to light it.

I'm creating a small script to lerp the ambient color when triggers from black...


 ...to a redish yellow...


 ...to a yellowy red...
...then to white.


**The Script is commented with its logic
**

Now, that skys looks a bit dull.

Monday, October 28, 2013

3d environment. Fixing my lights.

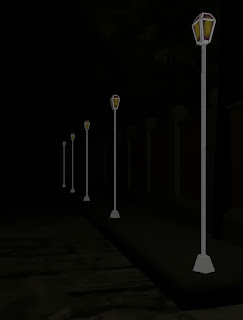
This is the porcess I went through setting up my triggered street light opening sequence for my game level.
First I modeled and textured my street light.


Once I had this asset in game I added a point light and created a prefab.  Because I had the point light located inside of the model. the model wasn't lit, so I made the texture self illuminating.

I then started working on my trigger code.


With this working I began trying to darken my unity scene to make the lamps the only visible light source.

This caused issues with my self-illuminating lamp material solution.

I decided to fix this in code, swapping the lamp to a self illuminating texture when in turns on.


**
**


This makes the dark dark and the light light.

Lights, Done!


Friday, October 18, 2013

3d Digital environments - modular street assets

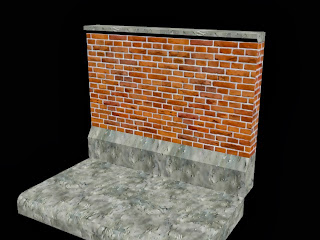
Creating the Wall, sidewalk and Road for the street section of the level, I deceded to use modular assets, allowing the same few models to repeat saving processing requirements and the size of the file.

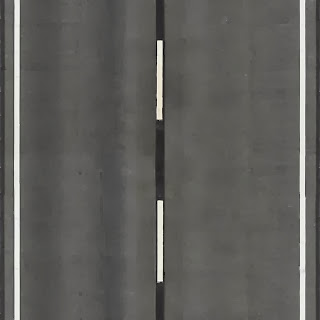
First I made my texture sheet.

I started with some basic textures downloaded from  http://www.cgtextures.com


I applied some filters to these textures and combined them into one file.

All my Modular street asset will use this same texture.


Now, to modeling.

After setting my grid to .5m per square and turning on grid snapping I made a piece of my wall.  The wall is 2m tall.

I then Made a piece of sidewalk and tested how well the assets tile together.


Next up is the road, which is just a simple plane.

To make the street light I started by modeling the shape then unwrapping the model and exporting a line drawing of the unwrap. Here is the light both textured and untextured.